Under Deck LED Lighting: Why We Upgraded to LED Puck Lights
March 20, 2026Under Deck Ceiling Cost: What Drives the Price
June 2, 2026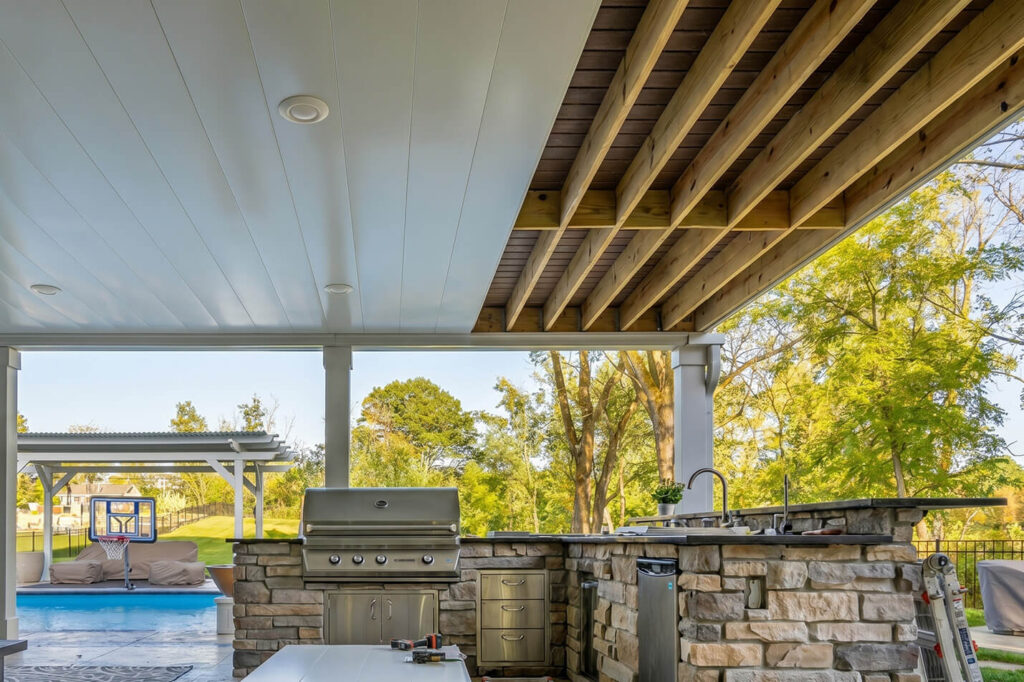
Yes, You Can Add Underdecking to an Existing Deck (Here's What's Actually Involved)
By Jason Kolstad, Owner,
When homeowners first see underdecking, most of them want it. After all, why wouldn't they? Underdecking takes a normally unappealing space in your backyard, and makes it dry, comfortable, and attractive! Unfortunately, many of those homeowners don't actually pull the trigger on getting their own underdeck system installed, sometimes for years, because they assume installing it means tearing the deck apart and starting over. We hear it on the phone all the time: "I've been thinking about this for years, but I figured we'd have to rebuild the entire deck to make it happen."
You don't. Not even close. A huge number of the decks we work on are existing decks. Homeowners who've had the same deck for five, ten, or more years, and who finally decided to do something about the "unusable" space underneath. Our installation process happens entirely from below, meaning that the deck surface above stays exactly as it is! And most jobs take less time than you'd think.
Today, we're going to answer the question "what's actually involved whan an underdeck system is installed?" We'll cover what we do, what we look at first, how long it takes, and the very small list of conditions that would actually disqualify your deck from being fitted with an underdeck.
Adding It Later Is the Normal Scenario, Not the Exception
If you built your deck before 2010, the under deck drainage industry barely existed when it went up. Even today, most general deck contractors don't include underdecking as part of their builds. They'll mention it as an option, but the typical residential deck still gets handed off to a homeowner with the structural framing exposed below.
That means most homeowners come to learn about underdecking after the fact. And usually this is after they've spent enough rainy summers watching water drip through their deck onto a patio set or the couple of chairs they've stopped trying to keep dry. Of the hundreds of installations we've done across the Twin Cities since 2018, the vast majority were on existing decks, not new construction.
So if you're worried you're asking about some unusual scenario, you're not. Retrofits are our specialty!

How the Installation Actually Works on an Existing Deck
On installation day, our crew arrives with the all the components of the Magnolia aluminum underdeck system: panels, rails, gutter, downspout, and the hardware to attach everything to your existing joist structure. The panels mount to the underside of your joists, which means we work from underneath, not from above. Your deck boards never come off, and the deck surface stays exactly the way it was. The same can be said about the furniture on the deck, your grill, planters, and anything else up there. None of it has to move.
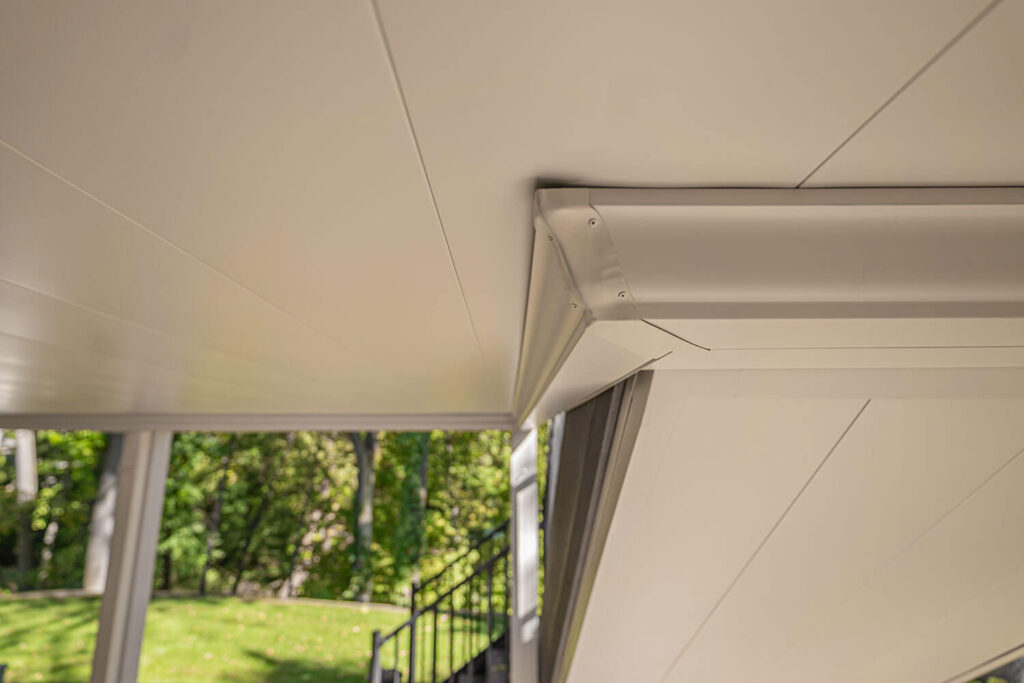
The under deck panels are pitched slightly toward a hidden gutter rail running along the outer beam of the deck. Water that comes through the deck boards lands on top of the nearest panel, flows toward the gutter rail, and exits through a downspout routed away from your house. From below, all the hardware is concealed behind clean fascia. And from above, nothing about your deck looks different than when we started!
To get a full in-depth look at how the system works, see our under deck drainage system page.
What We Check Before We Install
During our initial estimate visit, we don't just measure your deck. We evaluate whether your deck is a good candidate for underdecking, and if so, exactly how the install needs to be engineered to ensure everything goes smoothly. Three things matter most during this evaluation:

1. Joist condition.
The panels attach to your existing joists, so those joists need to be in sound structural condition. Most decks pass this first condition without any issue at all. The ones that don't usually have visible rot at the ledger or end-grain damage from chronic moisture. Those are problems that need to be addressed regardless of whether you're installing underdecking, because they're structural issues with the deck itself.
2. Joist spacing.
Standard residential decks use 16-inch on-center joist spacing, which the system is engineered for. Wider or non-standard spacing (for instance 24-inch spacing, occasionally seen on older or DIY-built decks) will need to be evaluated further to ensure that it's possible to attach the panels. We figure this all out during the evaluation.
3. Downspout routing.
The downspout has to exit somewhere, and that somewhere has to be away from your foundation. With some decks, this means we tie into your existing gutter network or route to a discharge point at grade. On rare occasions, the deck layout makes downspout routing more involved, for example when the deck wraps a corner or sits in a tight spot against the house. We assess this at the estimate and tell you upfront if it changes anything.
What Happens Between the Estimate and the Install
Once you've decided to move forward, the process is straightforward. We schedule the install date, and order the materials we need for your project, including any special items like fans, lighting, and screens. Our lead times depend heavily on the season. Spring and early summer book up fast, so if you're planning on getting an underdeck installed in that window of time, getting the estimate done early gives you more flexibility.
The day before the install, we confirm the timing and let you know what to expect. No need to move furniture on the deck, all we ask is the space below is clear and has room for us to work. We handle the rest!
A Typical Install Day
The crew arrives in the morning, usually between 8 and 9. The materials, which are typically ordered 4 - 6 weeks in advance of install day, come off the truck and stage near your deck. We start by confirming downspout placement, re-checking any aesthetic decisions we made with you during our last consult (downspout color, fascia treatment, and lighting/fan positions if those are part of the install), and beginning on mounting the rail system to the underside of your deck's joists.
After that, the panel installation moves quickly. Panels go up in sequence, locking into one another as they install. The gutter rail and fascia panels finish the perimeter. The downspout gets routed and connected last.
Most installs take one to two business days; though larger and more complex setups can take up to 5. At the end of the final day we haul away all packaging and waste materials, and by the time you sit down for dinner, the system is in and the space below your deck is dry.
For installs that include lighting or ceiling fans, the electrical work integrates right into the install timeline. The electrician works alongside us, and is typically finished before or when we are.
A Real-World Example
Last summer we did an install in Edina on a deck that had been built in 2003. The homeowners had been thinking about it since 2018, but kept assuming they'd need to rebuild the deck first. The original deck was in fine shape: 16-inch joists, no rot, standard 9-foot height off the ground. The estimate visit took 25 minutes. The install was a one-day job. The homeowners moved a new patio set into the dry space below the following weekend.
Frequently Asked Questions
When a Deck Isn't a Candidate (Rare)
It's worth being honest about the small set of conditions that would actually rule out an installation, because the answer to "can my deck have underdecking?" is almost always yes, but not literally always!
- Compromised joists. If joists are rotted, insect-damaged, or undersized for the deck's load, those problems have to be fixed before any underdecking goes in. This isn't an underdecking issue. It's a structural deck issue that should be fixed for your safety!
- Unusually low decks. For obvious reasons, the panels and gutter rail add a few inches of drop to the space under your deck. Decks that already sit really close to the ground may not have the headroom to make the under-deck space comfortable to use. The system works on these decks; the space below just isn't always worth using once the system is in.
- Decks with no discharge zone. The downspout has to exit somewhere reasonable. Unusual grading can often require more design thought, and occasionally a custom drainage solution.
The first one is the only true disqualifier, and even then it's a "fix the joists first" situation, not a "no, you can't" situation. The vast majority of existing decks we look at are straightforward installs.
The Phrase We Hear Most After Installation
"Why did we wait so long?"
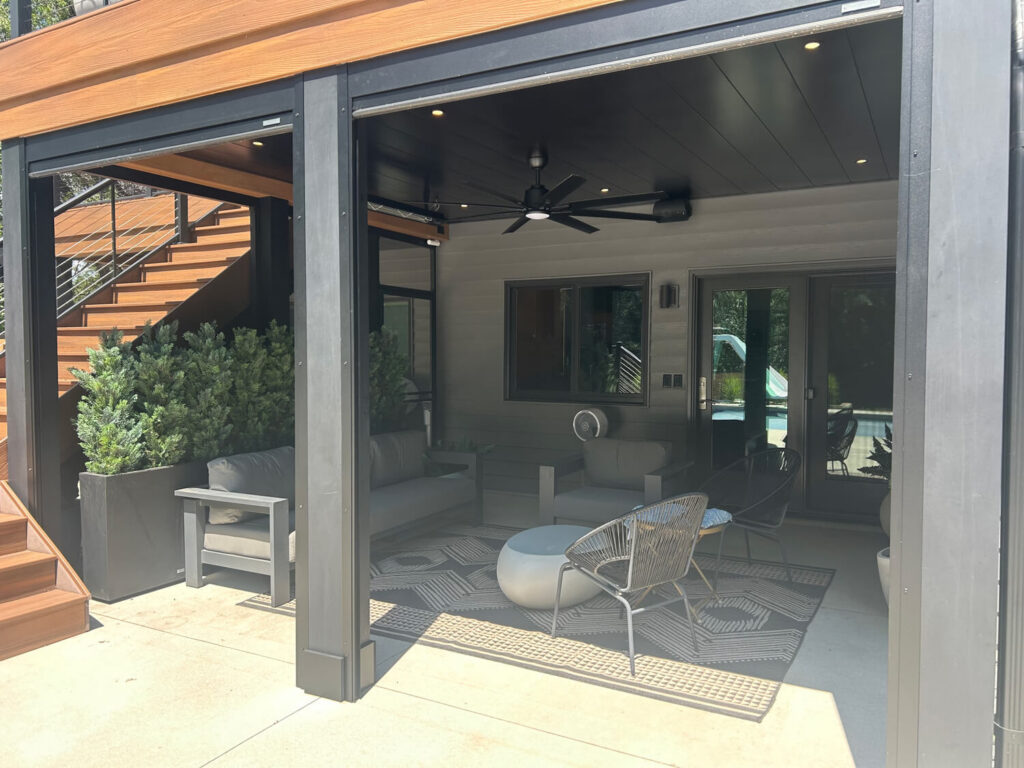
That's not a marketing line. It's what you (and other homeowners) will say to us after the install is done and you're standing under your dry, finished deck for the first time. The space you've been avoiding for years is now somewhere you want to hang out and spend your time, and the project you thought would be a multi-week renovation took only a day or two!
If you've been putting this off because you assumed it was a bigger job than it is, we'd encourage you to at least get an estimate. Get in touch or call us at (612) 720-0330. We'll come look at your deck, tell you exactly what we'd do and how long it will take, and give you a real number to think about.